Leaderboard


Popular Content
Showing content with the highest reputation on 12/02/2019 in all areas
-
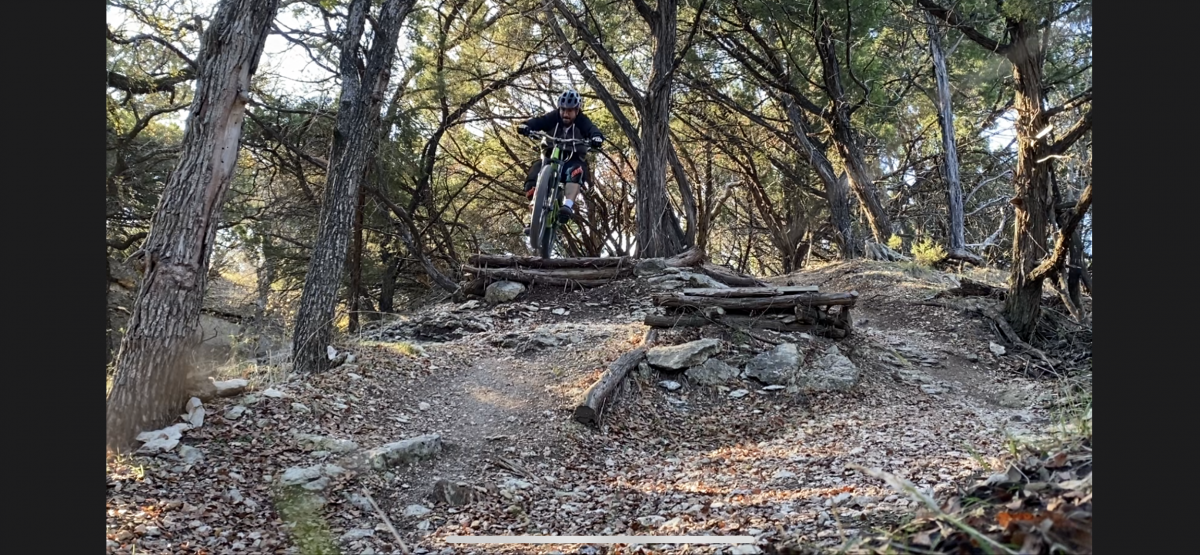
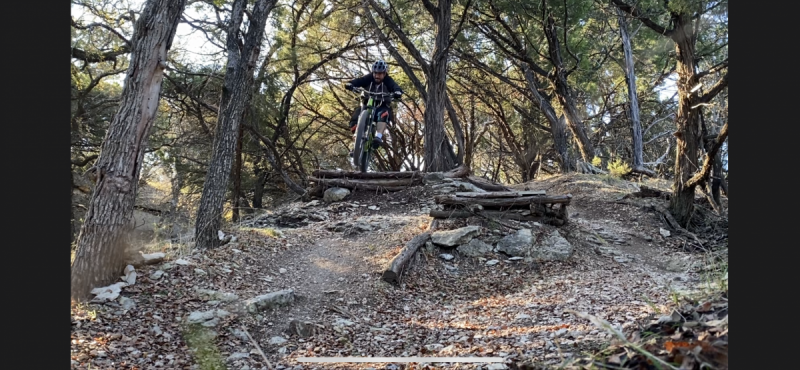
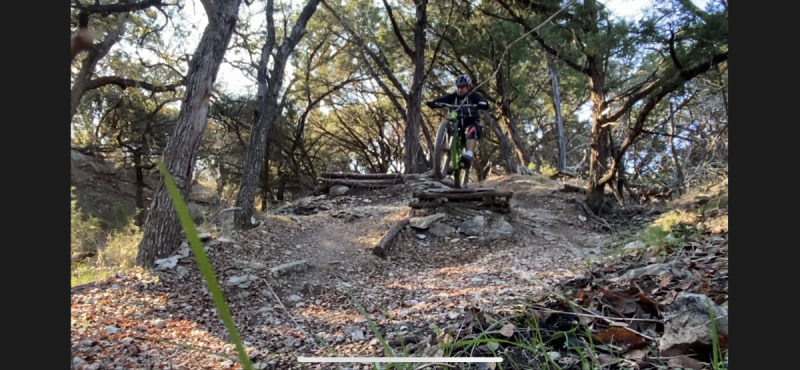
Trails were sweet this morning!
 2 points
 -
Make sure to make motorboat sounds with your mouth while doing this.2 points
-
Not sure if this helps, but have you watched the past few Seth's Bike Hacks videos?2 points
-
Ahh, I know where that is. I'll be there.1 point
-
I'm not sure where the splashpad is, but I'm in.1 point
-
Hiding cables, wires, and hoses is mostly cosmetic and a way to piss off a mechanic. I like Guerrilla Gravity's panel design. Shifting is over-rated anyways.1 point
-
Another Time Trial on Peddlers Pass - February 8th.1 point
-
I've found a few factors can contribute to hand discomfort which are not related to grips. First, is the angle of your handlebar. What I have found that works best for me is to angle the sweep of the bar to just above my shoulders. Second, the tilt of your saddle can increase hand pressure. It's a fine balance point to get it right, but if the nose of your saddle points down it will cause your hips to roll forward increasing hand pressure. If the nose it up too much the boys will not be happy. Also, related to saddle position is that all of these new bikes have super steep seat angles. It's great for climbing, but does cause extra weight on the hands. Third, I've found that any gloves that have gel or extra padding in the palm cause hand issues for me. The extra bulk in the palm causes the forearm muscles to work harder to grip. I LOVE these lizard skin gloves. https://lizardskins.com/mtb/gloves/aramus My favorite grips are the ESI silicone grips in Regular chunky. https://esigrips.com/mtb-grips/chunky-grips1 point
-
Worked a bit with CharDog when he was laying out new trail at Pedernales Falls a few years back. The park folks designated a specific contour line (1100') for the trail to follow, basically a limestone outcrop. It's a rocky trail for a reason. If you moved in from the rocky edge of the outcrop (IIRC from about 15' to 30' or so), often there was nice flat dirt, typically without much vegetation. You'd put your trail there, right? But CharDog knew that's where water settles and stays after a rain, and takes a long time to dry. Any trail there would become a muddy mess after a rain. The rockier area close to the rim of the outcrop drains quickly and is good to go soon after a rain. Also, I really like Fiskars tools. They have a good page + video on trimming and pruning practices here. Most any ranch in the Hill Country will have oak trees. If you're not up to date, get informed about oak wilt, the safe time of year to work on oak trees and how to avoid spreading it via your trimming and pruning tools. No landowner will love you for introducing or spreading the scourge of oak wilt on their property. A & M oak wilt FAQ page <snip>1 point
-
My humble (but strongly held) opinions: Yes to IMBA guide! Before all else, understand sustainable trail building; apply the IMBA solutions always. If you do that, that trail will still be there to enjoy in 5, 10, 15 years and onward. a) Decide what kind of trail (or loop) you are building and stick to that -- internal consistency. If you are building a beginner loop, stick to that -- consistent beginner characteristics throughout, ditto intermediate, advanced. Don't build crappy, half assed switchbacks. b) Alternately, (my preference) you can create a flow-ish trail and include alternate challenge lines. Or you can build a more challenging loop with mellow by passes. This will allow more people to use the trail and decide when they are ready for more of a challenge (or not) and takes care of endless whingeing* about cheater lines. Anyway, look at the terrain and set your vision first. You're not wrong to go about it either way. Also, this: As we've traveled around mountain biking, and as recently as this week, we run into families with younger kids looking for a safe-ish place to ride. Everybody has a mountain bike of some description, maybe Dad is the instigator with a high-end bike and mom and kids have low-end but functional bikes and and they need maybe a two- or three or even five-mile loop that is easy for the little guys but still moderately interesting and enjoyable. When people go out and have a great experience on a trail, especially with their kids, then they are more likely to want to expand that experience and at some point, maybe want to grow more into the sport. Sometimes mom and dad are both hammerheads but the grommits are little -- like five or six years old. Same dealio. This comes strongly to mind because awhile back when ARR had the TMBRA race at Reimers, we set up a little loop for kids - 100 yards or so long, it wound around with little dips here and there, went thither and yon through clumps of trees, and there were little kids riding it over and over because it was "just right" for their skills in terms of challenge, length and their bikes. It was so fun to watch. *whinge (informal, British): complain persistently and in a peevish or irritating way1 point
-
Go over rocks or ledges and around trees....not the other way around! Nothing with to much fall line, it will erode. "Broadcast" your dirt and debris well away from the tread so it doesn't trap water. Tree gates are fun. Think about if you want fast or technical beforehand. Follow natural contours as much as possible and avoid total flat spots, water needs to be able to sheet runoff down a hill. Use google earth then flag tape then weed wacker THEN chainsaw. Don't get chainsaw happy, pick natural easy to clear lines for quicker initial route clearing. Stacked Loop is the way to go. Bring a keg and invite us to ride it in once done.1 point
-
Cue the Spicoli voice "I know that dude." Sadly the kids don't know what I mean. A right of passage.1 point
-
complicated conversation a little bit. here are my 2 cents and methods scout the area on foot, and hopefully you can create a vision... using topographical mapping is optional, but I prefer it. Either before or after you do actual on the ground scouting. Once you have a vision, walk your path with neon flagging tape and mark where you see the trail going. Flagging tape is a great non intrusive way to mark the trail Once you are confident in the path you have chosen, cut away Vegetation and create a complete, featureless, bermless, functional path. once the path has been cut, work the ground with the various methods until the trail is ready for tires. Ride the functional path and see how it flows and start placing the berms and features accordingly And take the rest from there 😉 its a layered process for me, scout, functional path, pimp it out with berms and features last. When you try to build a trail feature by feature a lot of times it takes forever and features get put in the wrong places and shit doesn’t flow right Good luck. And hit me up I’m always down to put a trail in if the terrain is good1 point
-
Use the IMBA guide to sweet single track. You can find other people (National Park Service, US Forestry Service, etc) have books based on the IMBA book available for free online. Here some links - https://www.nps.gov/noco/learn/management/upload/NCT_CH4.pdf https://www.nps.gov/noco/learn/management/ncttrailconstructionmanual1.htm https://www.fs.fed.us/t-d/pubs/pdfpubs/pdf07232806/pdf07232806dpi72.pdf Nothing beats experience because all the reading gets you started but seeing what works and what fails makes a bigger impression.1 point
-
I gar-un-tee that the moon boots Lance Armstrong wore on the moon were size 9.5 not 42-43.1 point
-
Tires are personal, specific to both the rider and the bike. Good luck getting a straight answer on this. It is more likely that you will end up more confused than enlightened. I would argue that it is going to be less about the actual tire (i.e. tread pattern) and more about the width. For the most part people are running 2.3" - 2.4" tires on their bikes. A 2.2" or even a 2.25" tire probably won't give you what you are looking for here. I ride 2.4s and find them to be a significant upgrade from the 2.25's that I used to run. Personally I believe that moving beyond 2.4" to 2.5" (or larger) does give you an even better experience, but the cost is significantly higher. This makes 2.4" the price performer for today's rider. 10 years ago 2.2" was the price performer and 2.4's were too expensive to justify for most. Tires are a moving target and highly specific. But not knowing what bike it is on and the rider (along with the true issues you are facing now), it will be impossible to hone in on the single best tire for your needs.1 point
-
Going to the park down the street. Me: Want to take bikes? My Girls: Scooters! Me: <dies inside>0 points