WLemke
-
Posts
286 -
Joined
-
Last visited
-
Days Won
5
Content Type
Profiles
Forums
Gallery
Calendar
Everything posted by WLemke
-
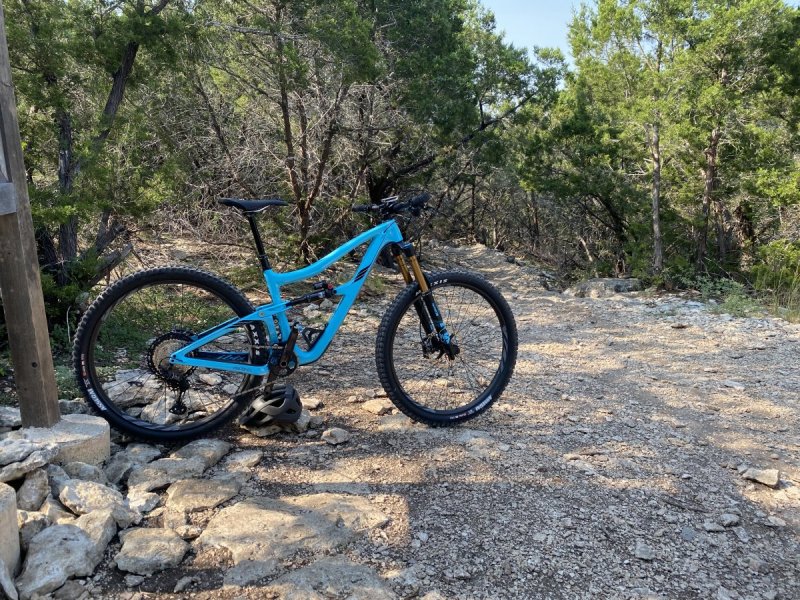
I carried the bike up the hill. Daintily set it down as to not stir up any dust. Got my pics for the gram. And then gingerly carried it back down to the concrete trail. There is no way I would actually ride this bike in the dirt. It could get...dirty.
-
First ride yesterday afternoon. Just a quick shake down on 1/4 notch to a get a feel for the bike. Planning on hitting DD this afternoon to really see what she is made of.
-
Interesting. So is this similar to automobile ceramic coatings where it’s applied like a wax and needs to be reapplied every now and then? Or is this more of a permanent process that is sprayed on and acts as a second clear coat?
-
Oh Boy. Time to buy a new bike. Looking for opinions
WLemke replied to WLemke's topic in Mountain Biking Discussion
Ended up finding a Ripmo in stock with the specs I wanted at Cycle Progression last week. Maybe I was a week too impatient. 🤷♂️ The uncertainty was killing me not knowing when I'd get my new bike. Nothing against Veloranguatan but I had no confidence in Ibis delivering the bike in a timely manner. -
Oh Boy. Time to buy a new bike. Looking for opinions
WLemke replied to WLemke's topic in Mountain Biking Discussion
Shoot. Forgot to respond to you. I do have the old 11 spd group set but I am keeping it for a future project. -
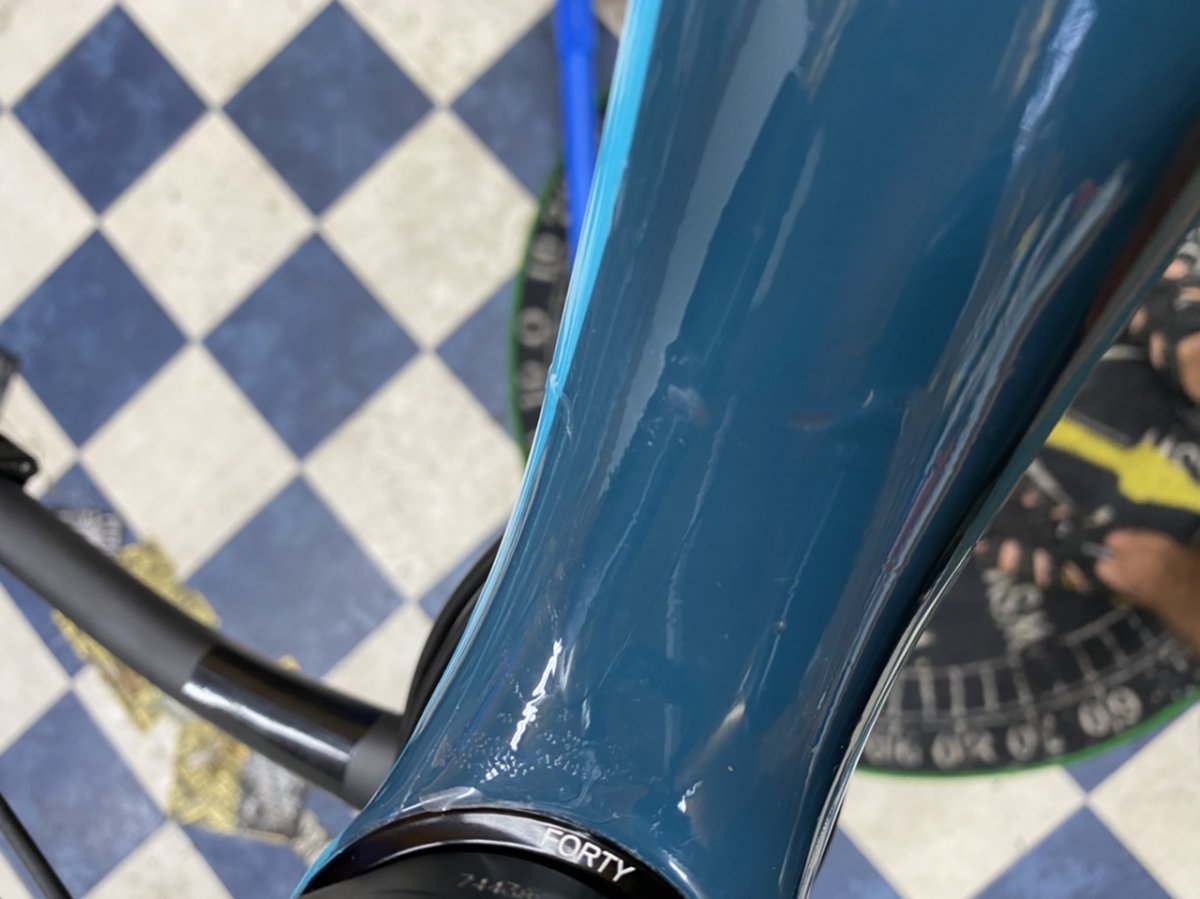
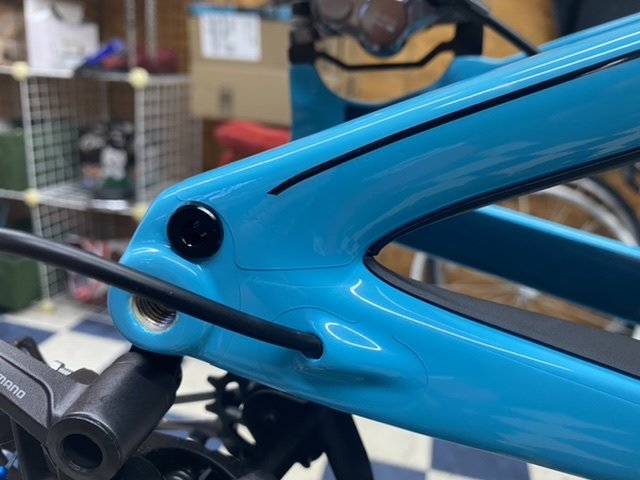
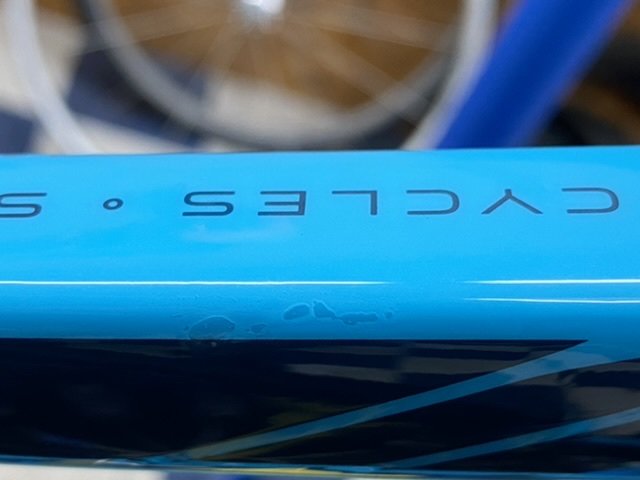
And for the love of god and all the is holy I have completed installing the vinyl. Everything was going smoothly until I got to the top tube. It was a very large piece and oh my goodness was it was so hard to 1. Line up and 2. Fold the vinyl around the frame without creases. After peeling off the piece multiple times I finally got it lined up “good enough”. From there I spent another 30 minutes slowly folding the piece around the frame. It’s not perfect by any means but it looks good from about 6 feet away The last major pain was the down tube piece. Similar to the top tube it was large and hard to align. I flipped the bike upside down to make it a bit easier to install. The most frustrating part about the down tube was the little flaps that cover the forward shock mount. I really feel that this would have been much easier if this was its own piece instead of part of the down tube piece. Similar to the top tube, the down tube is just ok up close but looks good from a distance. It was just so difficult juggling the tasks of folding, removing bubbles and keeping the vinyl in alignment. I choose to focus on alignment and no creases. you can see a few bubbles in the picture below and a slight alignment issue where the down tube meets the head tube. Fortunately this is on the underside so it’s not visible. All in all, I’d rate my install a B-. It’s good but I certainly won’t be giving the valedictorian speech at graduation. Will I do this again? Hell no. I will happily pay someone $150-$200 to install Vinyl protection in the future. In fact, I didn’t even really want to do it the first time but the COVID bike bonanza put me in the situation of doing it myself or waiting 4+ weeks for a shop to do it for me.


-
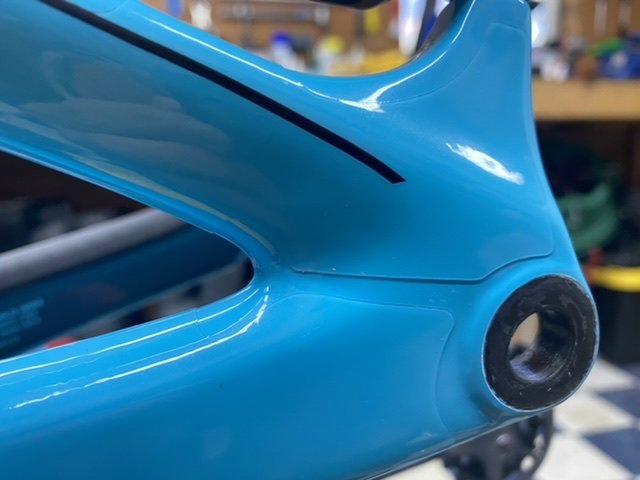
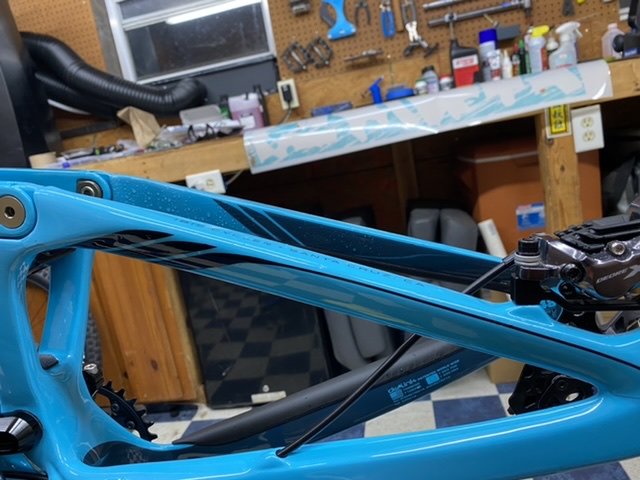
Got the rear triangle done. Was hoping to get more done but work has been a little too busy. After 6 pieces applied I’m starting to get the hang of this. There is an initial burst of tediousness when first getting the vinyl aligned and flattened out on one side of the frame. Once that is over, it’s fairly easy to squeegee the rest of the piece around the frame. What really helps, and what I noticed the pros do and some of the home users don’t do in the videos I’ve watched is to hold a section taught when squeegeeing. This allows the liquid to escape at the point where the squeegee meets the vinyl as you push/pull. If you don’t do this, the liquid tends to form pockets as the remaining vinyl not yet squeegeed will adhere before you get to it with the squeegee.
-
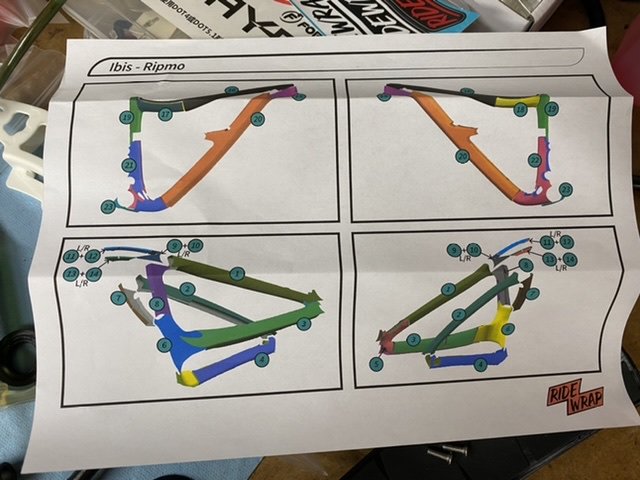
Alight. Got the first piece done this morning. In all, not too bad. As other has mentioned above, it is indeed a bit time consuming to work the vinyl onto the frame bubble free. Frame prepped and ready to go the schematic the vinyl sheet. 23 pieces in total! first piece done! Found a bubble i slowly peeled the section back. Re-wet the vinyl and pressed the bubble out. Looks much better now.

-
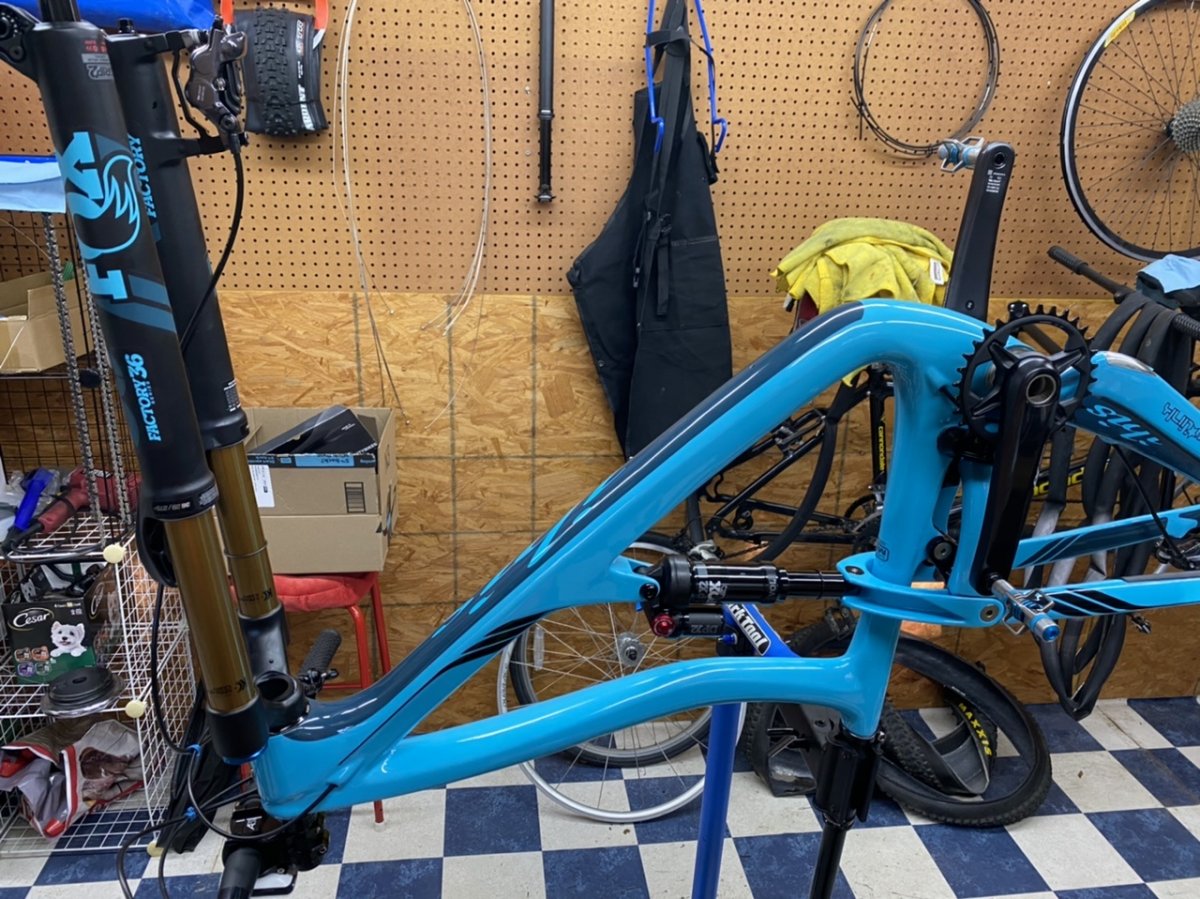
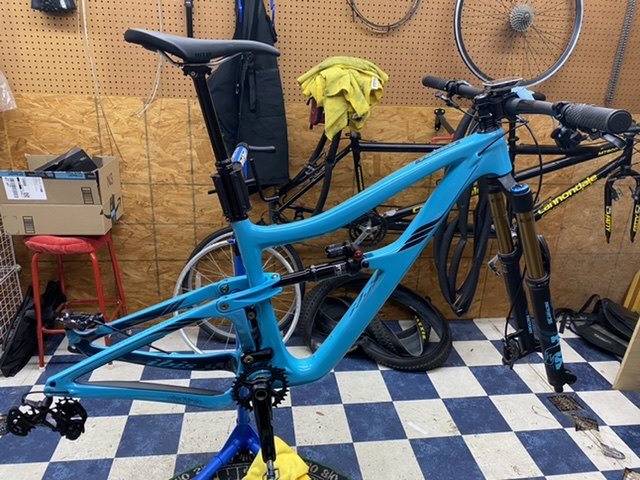
Hey all. I’m starting a vinyl frame protection thread for posterity. I have yet to ride my new bike as I have an irrational fear of the rocky limestone terrain in Central Texas molesting the pristine paint on my carbon frame. To combat that fear, whether justified or not, I’ve decided to install a full frame vinyl protection film on the entire bike. Over kill? Maybe. It seems that there were two main options for a full frame vinyl protection kit, Invisiframe and ridewrap. I ended up ordering the tailored kit from ridewrap mainly because it was estimated to get here sooner. As far as I could tell from online reviews, both products are more or less the same. From the research I’ve done, this is going to be a royal pain in the ass to install. I’m planning on installing it tomorrow throughout the day between work meetings. I’ll post some install photos and my thoughts on the process along the way.

-
I would wager to guess that many of the more casual MTBers just don’t know riding wet trails is damaging.
-
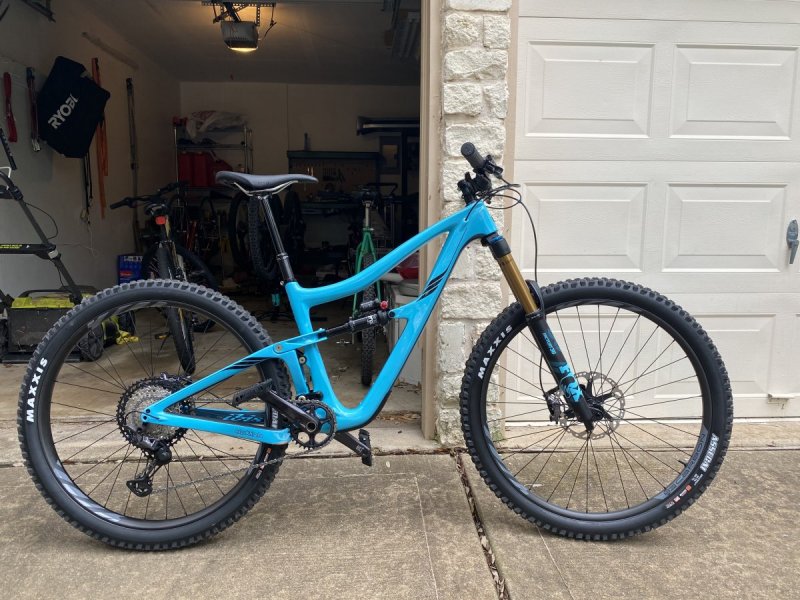
Time to test out the resilience of the good weather forecasted this weekend. NBD is here! Called up cycle progression a few hours ago and they just got this Ripmo in stock. Made a bee line down there as soon as I got off the phone.
-
Oh Boy. Time to buy a new bike. Looking for opinions
WLemke replied to WLemke's topic in Mountain Biking Discussion
Figured I'd close the loop on this thread. Ended up putting a deposit down on a Ripmo with Velorangutan. I went with the XT build, Factory 36, Factory X2 and the standard aluminum wheelset. I'm slightly second guessing my choice of wheels but didn't feel great about forking over an additional $700 for the Ibis carbon rims with the i9 hydra hubs. I was given a delivery estimate of the first or second week in September...which has now passed. No frustration towards the guys over at Velorangutan as they don't have any control over Ibis sending them the bike, but the anticipation is certainly killing me! Hoping the bike gets here soon as we are slowly approaching some great riding weather. Would also like to get seat time on the new bike before October's EB: Pandemic edition. Anyways, fingers crossed. -
Please return them.
-
Rides like a dream* * Dream is used extremely liberally in this context
-
Took the hopper out to the nut today.
-
Thanks! Always appreciate your updates on here and your Twitter.
-
Anyone have a chance to scope out Brushy this afternoon? Hoping to ride tomorrow afternoon assuming no more rain.
-
Thumper isn’t harder than double down in a technical sense. I’d say it’s easier in terms of tech. It’s just has a lot more elevation change and isn’t maintained to the level DD is. It gets your heart “thumping”. Frankly, it’s a love it or hate it trail. Here is the TF link to Thumper. Don’t ride this trail alone though. There is no guarantee anyone will be around to find you if you are injured. Also, it can be easy to get lost in Thumper. General rule is follow the white signs. Even then you may find yourself turned around!
-
Internals looked fine and wasn’t really dirty at all. Gave the system a bleed and the issue persisted. found our from the guy who owns this bike that the lever is less than a year old. He is having it warrantied.
-
Thanks! Exactly what I had in mind. I’m hoping the master cylinder piston just needs a good cleaning and lube.
-
No. When I pull quickly and hold the lever remains firm. I wish I could order replacement parts but with Shimano your only option is to replace the entire lever.
-
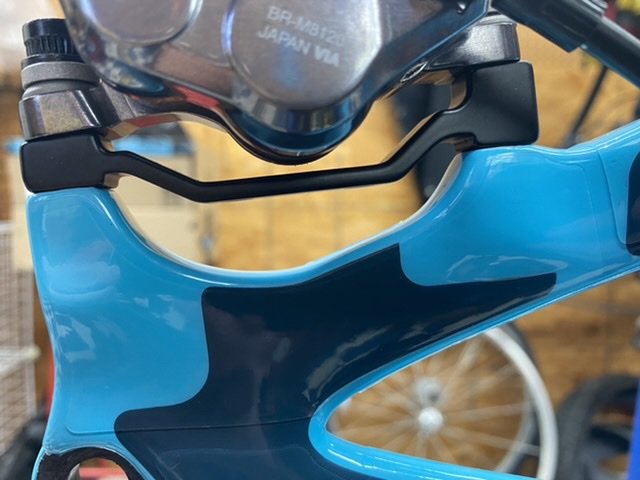
Anyone ever seen this issue before with shimano brakes? When I pull the brake lever quickly, the lever feels firm. When I pull slowly, the lever goes to the bar. The brake will not lock the rear wheel when riding unless I pull really hard with two fingers. Not my bike so I don’t know the maintenance history. Just putting some feelers out before I bleed/start taking things apart. My initial guess is a bad master cylinder Video
-
Long time listener fist time caller
WLemke replied to skinned elbows's topic in Mountain Biking Discussion
Sanity check. Did you buy just a new chain ring or a new crank set? If the former, you don’t need a new BB. Just swap the new chain ring for the old. If the latter, the BB you’ll buy will be dependent on the new crank set. For example, if you bought a SRAM DUB GX crankset, your bike will accept a 68/73 BSA DUB BB. -
Long time listener fist time caller
WLemke replied to skinned elbows's topic in Mountain Biking Discussion
So I believe your hubs are made by a company called JoyTech and you can actually get replacement freehub bodies from any Specialized dealer. This would almost exclusively be done in cases where you are wanting to change the type of cassette driver standard (SRAM XD -> Shimano HG or HG -> XD). The degree of engagement (Forward pedal slack) would be the same between your current freehub and the one you'd replace it with. From the sound of your post, you are unhappy with the degree of engagement on your current hub so getting a replacement freehub body for your current hub isn't going to solve your problem. As Mr. Turtle alluded to, the price to physically lace a new hub into your current rim is typically not worth the cost considering you already have a fairly low end wheelset. For example, bicycle sport shop is going to charge you about $90 plus the cost of new spokes. A i9 1/1 hub costs $289 and a complete i9 1/1 rear wheel costs $450. Delta between just the hub and the entire wheel is $161. Keeping in mind that you're going to spend around $100 to re-lace the new hub, it may be worth spending the extra $60 to get a higher quality rim that comes with the complete wheel. -
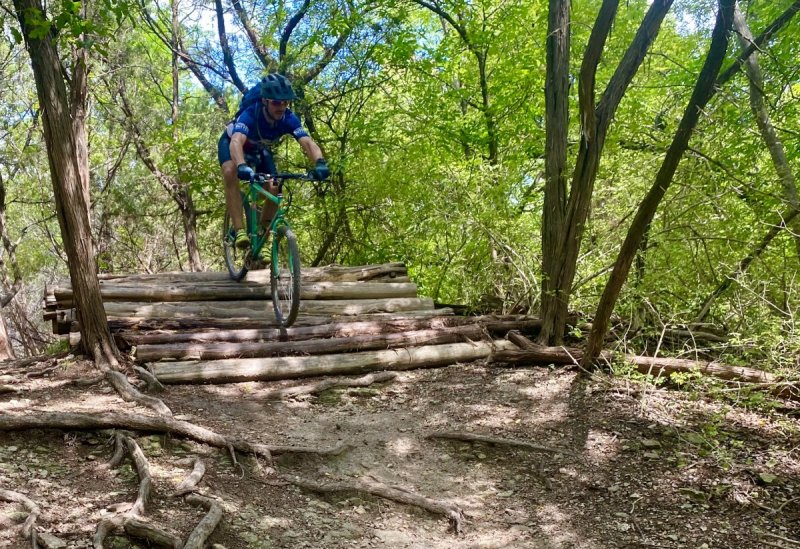
My “new” whip. 1988 Specialized Rockhopper Comp in DeNucci Green. Went out for a rip on Quarter Notch today. So much fun riding a bike that forces you to pick good lines.